

Well it’s no secret that I like to have signs and labels and pretty lettering in my home decor and on the gifts that I give. And there are enough different way of accomplishing it that you’re sure to find a way that suits you, if you like it too. For this project I used two different ways to paint lettering onto a rustic board to make a sign that hangs in this newly decorated space. You can read about the whole transformation here.
a whole new space
So I’d love to tell a charming story about this board, like I discovered it on a Sunday afternoon while hiking through fields and it used to belong to a historic barn that’s now abandoned… But the truth is it was part of the falling apart deck that was attached to the back of our house when we moved in. And when a lovely guest was over and put his foot right through part of it, well, obviously the whole deck needed to come down. And a lot of it has been carefully hoarded by moi for an occasion just like this.

used to be our deck
But anyways…lettering. We’ll start with the easy one.Stencilling:
If you’re going to do a lot of stencilling, or your project is going to be very valuable or precious, then you can invest in some beautiful stencils found at art or craft supply stores. They will be sturdy plastic and come in a huge variety of sizes and font styles, and you’ll be able to use them repeatedly with no problem. Personally I often go for the cheap inexpensive frugal cheap version. These cardboard stencils are from the dollar store. Elmer’s brand. They’re sturdy enough that you can use each letter quite a few times. Then pitch it and spend another dollar to get a new set.
Tip: when painting letters, set up your complete lettering plan before you start, so that it will be centered if you want it centered, or line up with an edge if that’s the final look you want.

you need to punch out the letters before you start
In this case I wanted to line up with the right edge so I started with the last letter “O”. I’m just using acrylic craft paint in Antique White, also from the dollar store. Then…well you know how to stencil. Tape down your stencil and with a stencilling brush, or a foam brush, or a wadded up paper towel if that’s all you have…just dab the paint over the space until it’s as heavy as you like. Then remove the stencil and move on to the next letter. Easy, right?

dollar store stencil * dollar store paint
Keep moving to the left if you’ve started at the right edge, or move outwards from the middle if you’re centering your word. Acrylic craft paint dries pretty quickly, so if you need to use the same letter twice, you don’t need to wait long to re-use it.

you had me at hello
Transferring Fonts with Chalk Then Tracing With a Paint Marker:
Ummm… so you can tell from the heading this is a little more complicated, but I promise you it’s pretty fool-proof. Don’t be scared.

chalk transfer
For the first word I wanted a font that contrasted with the lettering style of the stencil, and I liked the looks of this font. (If you want some tips on how to choose a font for your project check out this post I wrote about using computer fonts on chalkboards.) Also check out my “Free Font” Pinterest board where I’ve collected lots of my favourite fonts.
1. Print out the word in the size you need and cut it out into a more manageable sized piece. Then colour the back of the paper with chalk, making sure that the back of the lettering is well covered with chalk.
2. Flip the paper over and position it on your project. Hold it down securely or attach it with tape if you prefer.
3. Using a dull pencil or a closed pen, or any blunt writing instrument, or a chopstick, trace over the lettering firmly, going over it several times. When you lift your paper, the lettering will have transferred to your project via the chalk. Cool, eh?
4. Using a paint Sharpie, trace over the transferred chalk lettering very carefully.
5. Stand back and admire your professional work.

trace with a sharpie paint marker
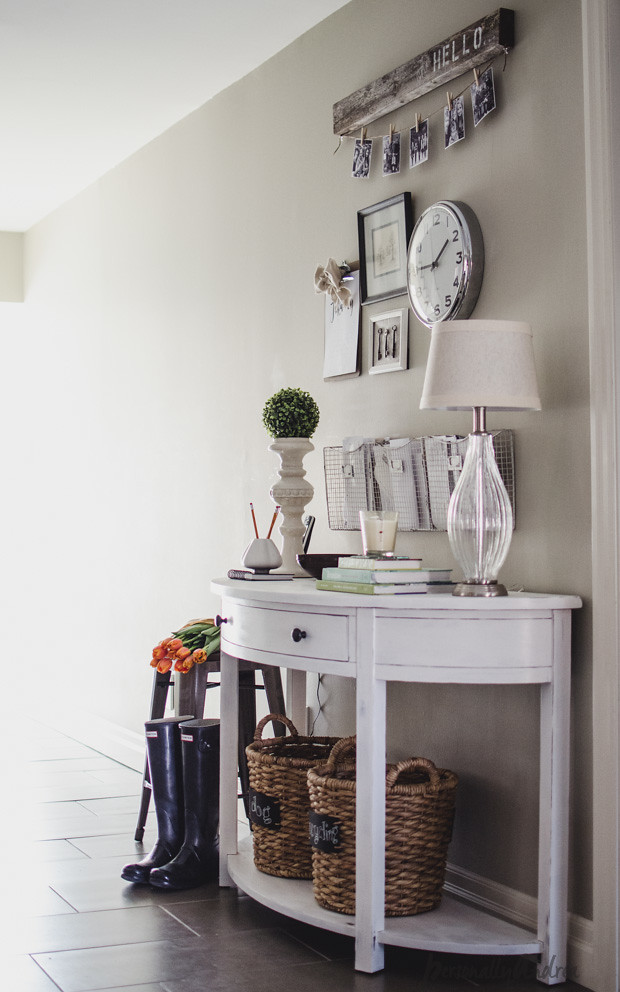
Before hanging it up, I printed out some black and white family photos and clothes-pegged them to a piece of twine pinned to the bottom of the sign. Just for fun. In other seasons I might decorate it with spring-y flowers or Christmas-y decor. We’ll see.

make it part of a vignette
So there you go. What do you think? Are you up for giving it a try on your own piece of fallen-apart decking? Or maybe you actually have a “real” rustic piece of wood with a charming story behind it that you’d like to display in your home. Paint a word onto it!
Thanks so much for reading! Hope to see you here again soon,
Sharing is lovely...

